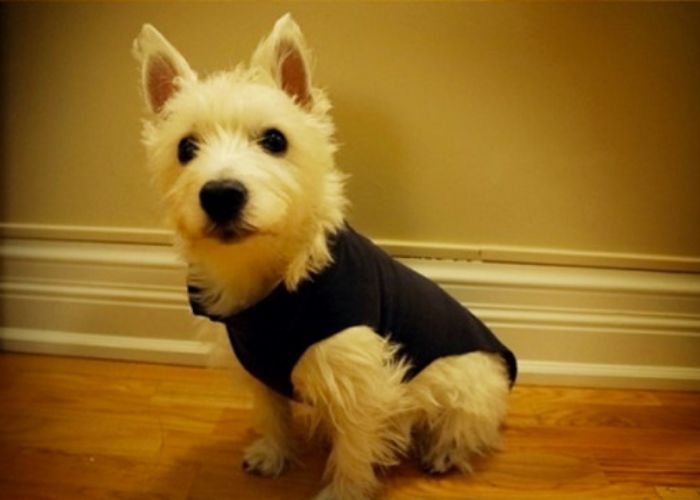
People have traditionally loved dogs as companions and family members. Because of this, a lot of pet owners enjoy treating their animals to a variety of foods and accessories, such as fashionable yet cosy apparel.
Creating custom dog costumes for your pet can be a fun and affordable way to make sure they look good and feel comfortable. We’ll look at the detailed procedure for making custom dog garments with a sewing machine in this long post. Let’s read below ”How to Make Dog Clothes With a Sewing Machine”.
Materials Needed
Get the supplies you’ll need before you begin the creative process to guarantee a smooth and pleasurable sewing experience:
- Fabric: Select clothing that is suitable for your dog’s size and the season. Fleece is a great option for the winter, but jersey or lightweight cotton textiles work well in the summer.
- Measuring Tape: Invest in a high-quality measuring tape because correct measurements are essential to ensuring a proper fit on a garment.
- Sewing Machine: For the majority of dog apparel projects, a simple sewing machine capable of producing both straight and zigzag stitches will suffice.
- Thread: For a finished appearance, use a thread colour that goes well with the material you’ve chosen.
- Scissors: For accurate cutting, you’ll need a sharp pair of fabric scissors.
- Pins or Clips: pins or clips will help hold the material layers together.
- Velcro or Snaps: Depending on your design and how comfortable your dog is, decide between Velcro and Snap closures.
- Pattern (Optional): While it is possible to create your own, it is easier to use a pre-made dog attire design.
How to Make Dog Clothes With a Sewing Machine
Now that you have your supplies set, let’s get to work making fashionable yet cosy clothes for your pet.
Step 1: Take Accurate Measurements
Measure your dog to make sure the fit is correct before cutting any cloth. Measure the width of the chest, the length from the neck to the tail, the diameter of the neck, and the distance between the front and back legs. You should record these measurements because they will form the basis of your pattern or design.
Step 2: Choose a Design and Create a Pattern
After obtaining your dog’s measurements, choose the style of clothing you wish to make. Coats, vests, and sweaters are typical options. If you’re not comfortable making your own dog clothes patterns, there are lots of them available online or at your local craft store. Verify that the designs match the dimensions of your dog.
If you’re feeling particularly adventurous, start by drawing out your idea on paper. Particularly if you’re new at sewing, keep it simple. When your design is finished, make sure to provide space for seam allowances by either copying it directly onto your fabric or tracing it onto pattern paper.
Step 3: Cut the Fabric
Carefully cut the fabric into the shapes you have suggested using your design. To guarantee a smooth, glossy finish, be exact. Don’t forget to include seam allowances, which, depending on your pattern or style, might vary from 1/4 to 1/2 inch.
Step 4: Pin or Clip Fabric Layers
With their right sides facing one another, stack the fabric pieces. The layers can be fastened together using pins or clips. Make sure that all pattern or design elements line up correctly; in particular, check that the seams match.
Step 5: Sewing the Pieces Together
Make sure the needle and thread you are using are compatible with your sewing machine. Most dog apparel projects can be completed with a straight and zigzag stitch. Sew following the indicated seam lines, taking off pins and clips along the way. Extra stitches should be made to reinforce parts that will be worked, such the leg holes or the places where closures will be put on.
Step 6: Add Closures
Adding closures will make it easier to put the item on and take it off your dog, depending on how you made it. Buttons, snaps, and Velcro strips are common closing options. Make sure you tighten these just enough so they fit snugly without hurting.
Step 7: Hemming and Finishing Touches
Hem the garment’s edges after the major components are put together to keep it from fraying and give it a finished appearance. To add a personalised touch, think about adding any extra decorations or embellishments, like appliques or embroidery.
Step 8: Try It On Your Dog
Make sure your dog fits comfortably in the garments before you celebrate finishing the project. Once you’ve noted them, make any necessary corrections. Like people, dogs come in a variety of shapes and sizes, so setting up a trial fitting is essential to ensuring a cosy, custom fit.
Conclusion
Using a sewing machine to create custom dog costumes is a rewarding and fun hobby. It gives you a special opportunity to spend time with your dog and lets you tailor clothes to suit his or her tastes and personality. Whatever your level of sewing skill or craftiness, creating dog costumes is a creative way to show your pet how much you cherish them. So grab your supplies, let your creative juices flow, and begin crafting couture that will have dogs wagging their tails. I hope you like reading ”How to Make Dog Clothes With a Sewing Machine”.
